How to Use a PSD Mockup in Photoshop (Without Breaking It)
How to use a PSD mockup in Photoshop: find the smart object, place your design, fix blurry artwork and export a clean version for your client.
By Mockova Team5 min read
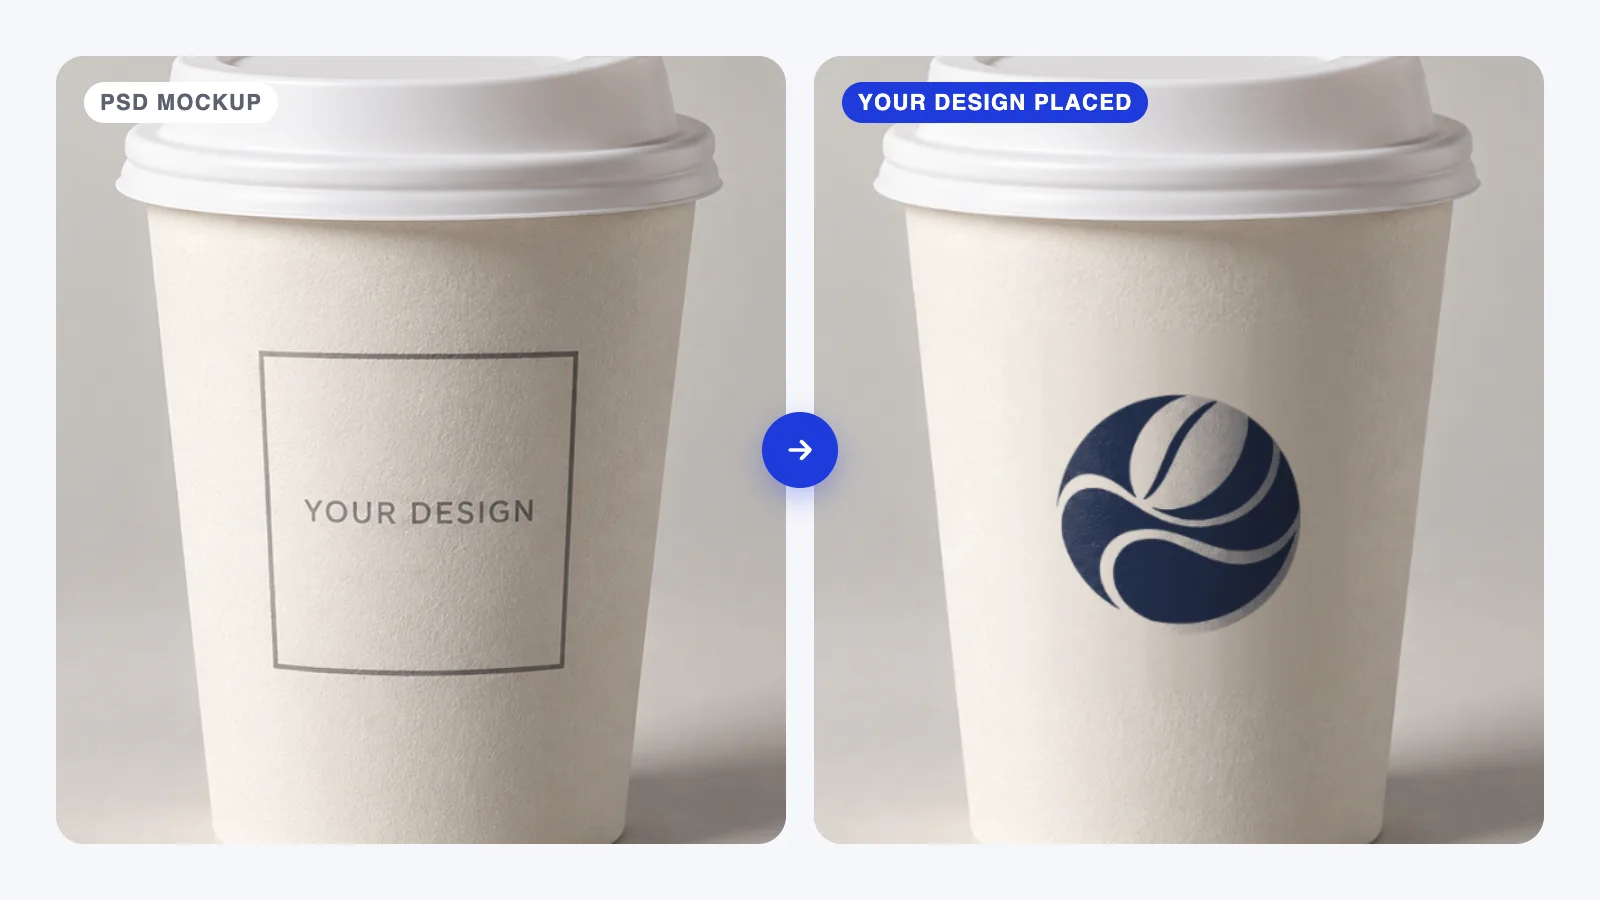
You’ve opened a PSD mockup in Photoshop, but it’s not obvious where your design belongs. A dozen layer groups, a few shadows, a placeholder logo. Where do you even start?
You usually only need to edit one layer to get started. Here’s how to find it, add your artwork and save the finished mockup.
Quick answer: Look for a smart object layer named “Your Design Here” or something similar. Double-click its thumbnail, add your artwork in the document that opens, then save it. Return to the mockup to see the result.
What a smart object actually is
A smart object holds artwork that you can edit separately from the main mockup. The creator has already positioned it on the product and set up the perspective, curves and effects.
When you replace the artwork inside it, those settings stay in place. Your logo follows the shape of the cup or box without you having to recreate the effect yourself.
If you paste your logo directly into the main document, it won’t inherit that setup. It may look fine as a flat image, but it won’t sit naturally on the product.
Step 1: Find the design layer in the PSD mockup
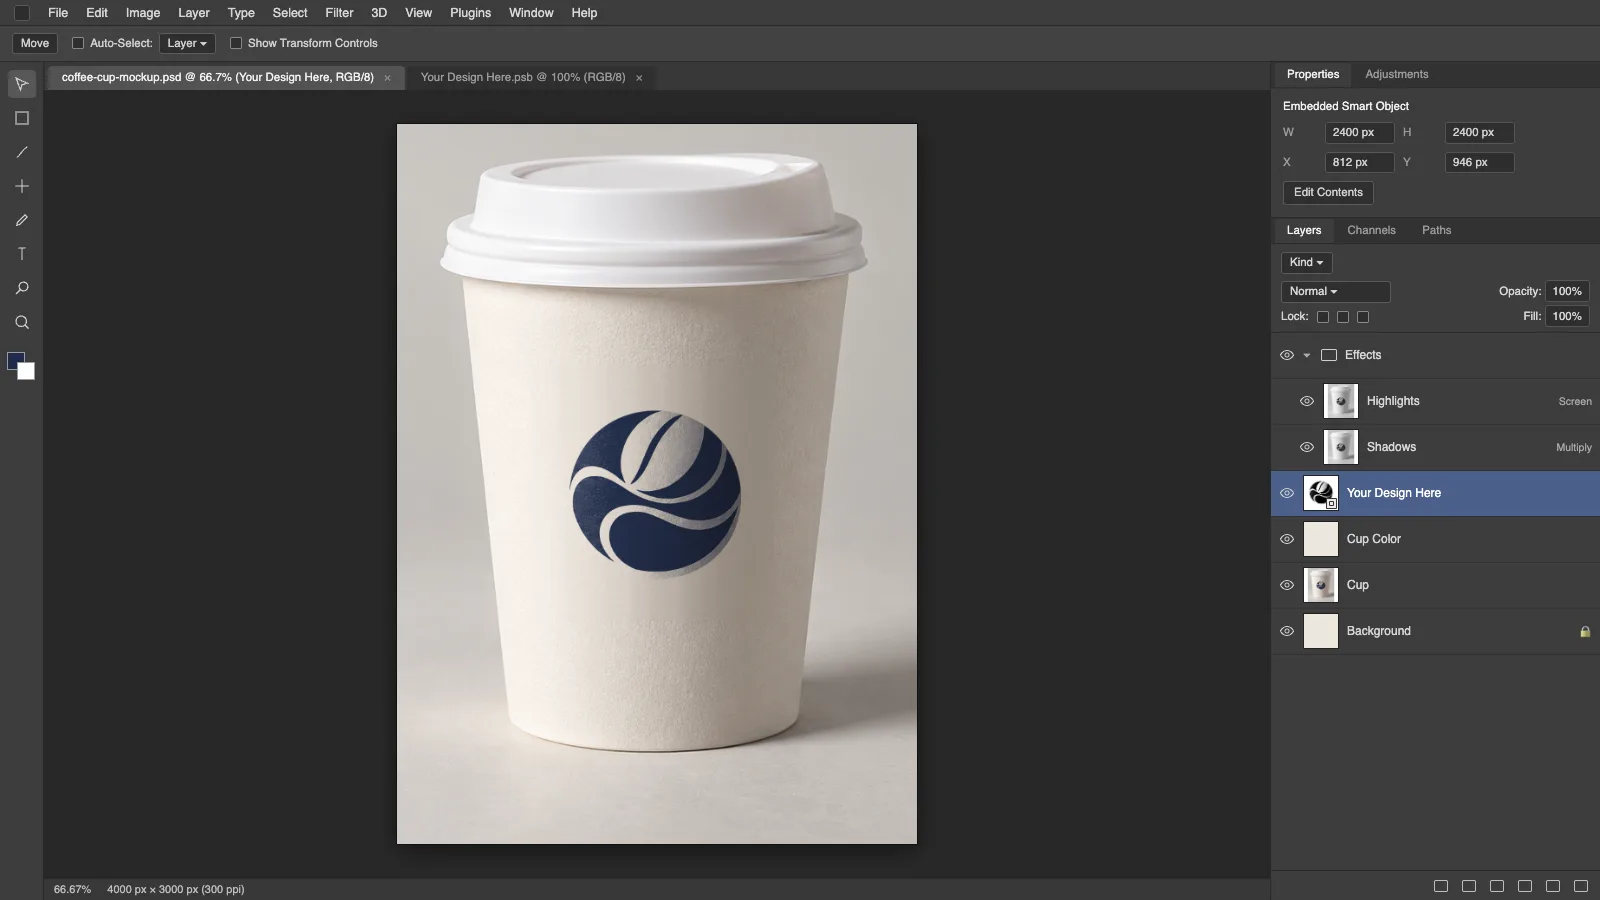
Open the PSD, then look in the Layers panel. If the panel is hidden, choose Window > Layers.
You’re looking for two clues:
- A name such as “Your Design,” “Place Design Here” or “Edit Me”
- A small smart object icon in the bottom-right corner of the layer thumbnail
The editable layers are often highlighted with a color or collected in a group. Expand the groups if you can’t see them right away. A mockup with several printable surfaces, such as the front and back of a box, may have a separate smart object for each one.
Before making changes, save a copy of the PSD so you have the original to come back to.
Step 2: Open it and replace the design
Double-click the smart object’s thumbnail. Clicking the layer name twice just lets you rename it.
A separate document opens, often with a .psb extension. This is where your artwork goes.
- Add your logo or design to this document. You can paste it, or use File > Place Embedded to place an artwork file.
- Resize and position it within the canvas. Check that the artwork keeps its proportions as you resize it.
- Hide the placeholder layer so it doesn’t show behind your design.
- Press Cmd+S on Mac or Ctrl+S on Windows to save.
- Return to the main mockup tab and check the result.
You can leave the smart object tab open while you adjust the placement. Move it a bit, save again, check the mockup. Repeat if you need to.
Step 3: Fix it if it looks blurry
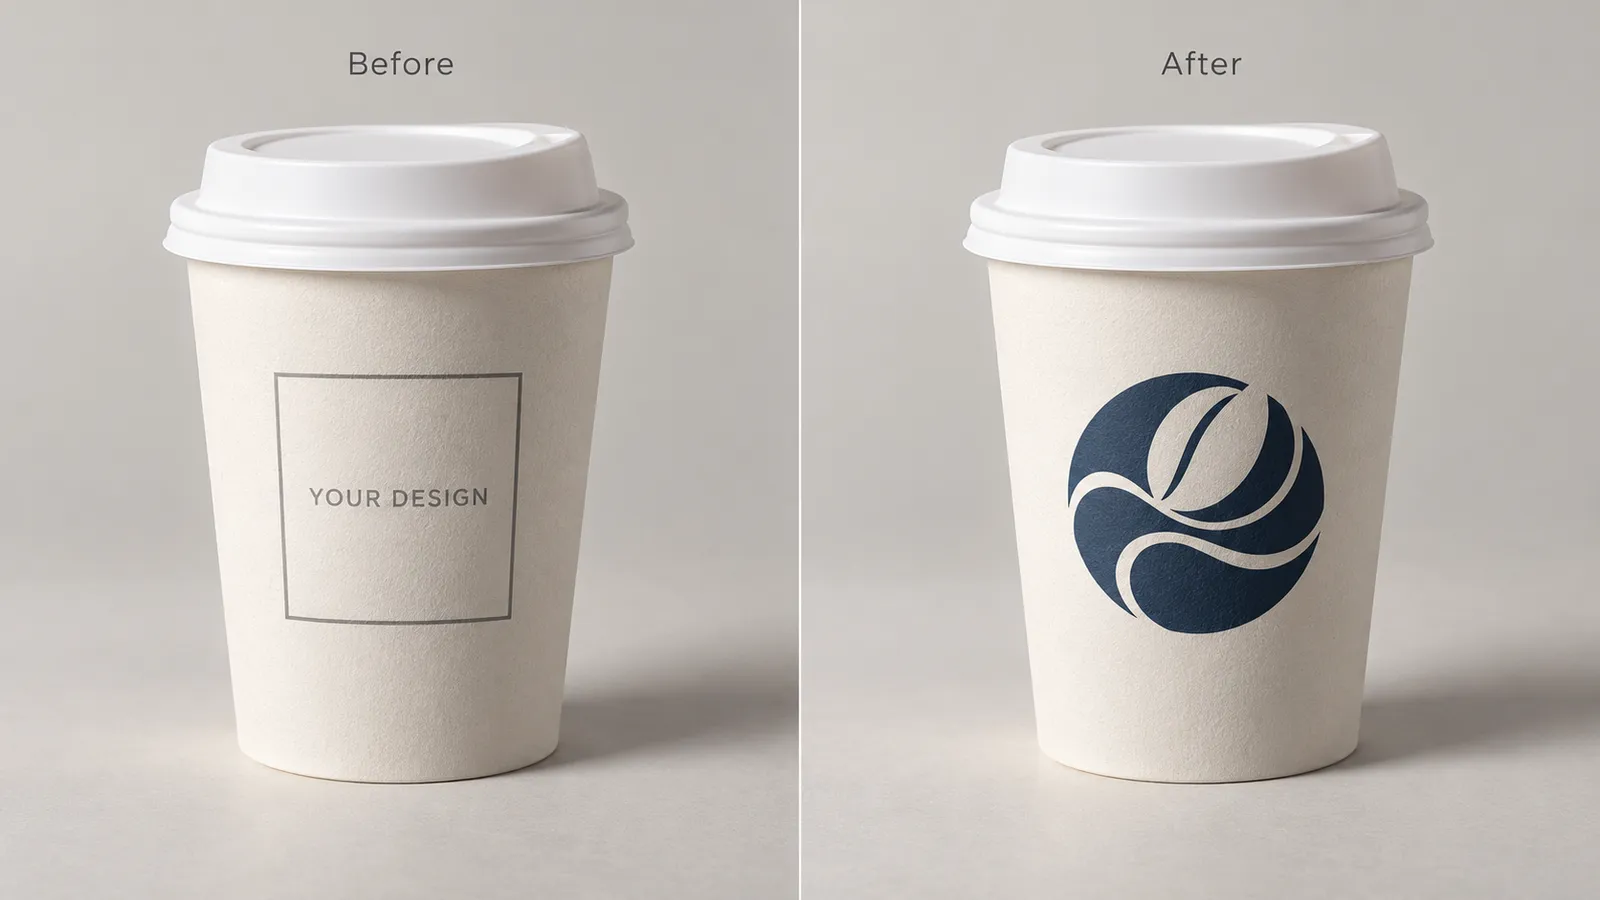
If the artwork looks sharp on its own but soft in the mockup, check the size of the image first.
Small artwork stretched too far. A 600 px logo will lose detail if you enlarge it to fill a 3000 px canvas. For logos, always place the vector file (AI, SVG or PDF) instead of a PNG. It stays sharp at any size, and you’ll never have to think about this problem again.
A screenshot used as the source. A screenshot may be fine for a quick preview, but it often doesn’t have enough detail for a large mockup. Go back to the original artwork and export it at the size you need.
A small mockup enlarged for export. Check the dimensions of the main PSD too. If the whole mockup is smaller than your intended output, enlarging it won’t recover the missing detail. For anything a client will zoom into, skip mockups under about 2000 px wide.
Look at the result at 100% zoom before deciding it’s blurry. The preview at other zoom levels can make it harder to judge.
Step 4: Keep the realism layers on top
The shadows, highlights and textures are part of what makes the design look like it belongs on the product. You’ll often find them above the artwork layer or in their own groups.
Leave those layers in place for your first pass. If the design looks too dark or a highlight hides part of your logo, try a small opacity adjustment on the relevant layer. Toggle it off and back on to see what it contributes before changing it.
Step 5: Change the colors (optional)
Some mockups let you change the product color as well as the artwork. Look for a layer named “Color” or “Change color here.”
If it’s a solid color fill layer, double-click the color thumbnail to open the picker. Other mockups use adjustment layers, so check any instructions included with the download if the control isn’t obvious.
Use a color close to the actual product you’re presenting. A white logo on a navy cup gives a different impression from the same logo on a black one, even if the artwork hasn’t changed.
Step 6: Export for clients and social media
Save your edited PSD before exporting. That gives you an editable version for any changes later.
Then choose File > Export > Export As and set the format and dimensions for where the image will be used:
- Client presentations: Use a PNG or high-quality JPG large enough for the slide or document.
- Social media: Crop and resize a copy for the post. A 1080 × 1350 px image gives you a 4:5 portrait layout.
- Your portfolio: A JPG around 2000–3000 px wide is a useful starting point. Check the detail and file size before uploading.
Open the exported image once to check the crop and make sure nothing’s missing.
FAQ
Can I use PSD mockups without Photoshop?
Photopea is another option for opening PSD files and editing smart objects in a browser. Check the finished result carefully, since some Photoshop effects may render differently in another editor.
Why doesn’t my design follow the curve of the product?
Check where you placed it. The artwork needs to be inside the mockup’s smart object to pick up its perspective and curves. If you added it to the main document, hide that layer and place it inside the smart object instead.
Can I use free mockups for client work?
Check the license that comes with the download. “Free” doesn’t always include commercial use. Look for permission to use the mockup in client projects, and check whether attribution is required.
What file format should my design be?
A vector source is useful for logos because you can resize it without losing sharp edges. Place it as a smart object to preserve that flexibility. A transparent PNG also works well if it has enough pixels for the size you’ll use it at.
Your next step
Try replacing the artwork in one simple mockup first. Once you’ve found the smart object and seen how saving it updates the main file, the process becomes much easier to follow.
Stuck on a step? Send us your question. The most common ones become new guides.